
Mermaid Blues How-To
- Nov 25, 2017
- 4 min read

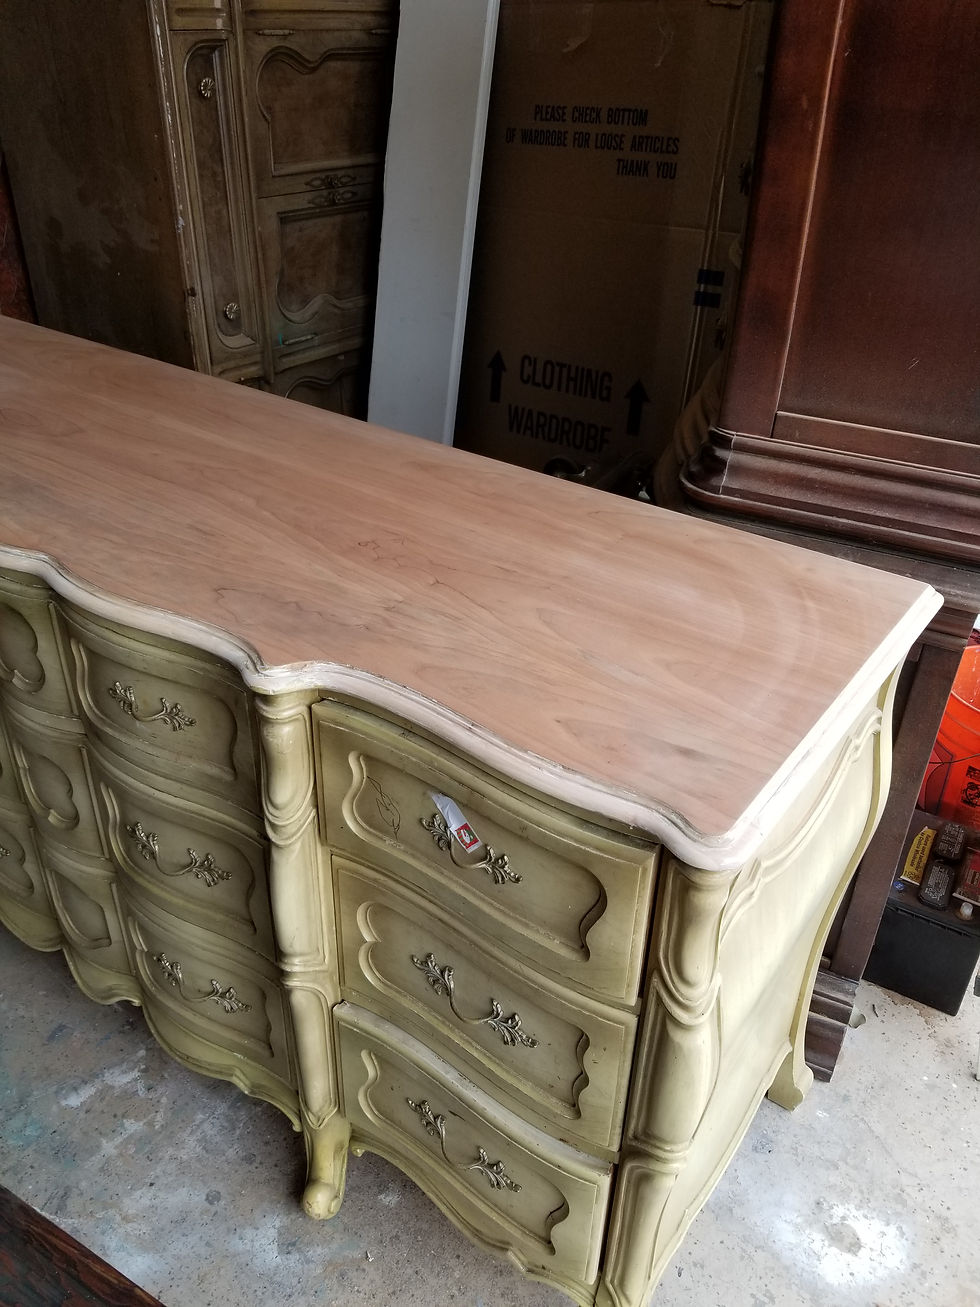
I had picked up this French provincial beauty off of Craigslist. It was in rough shape, super dirty, but had great lines, solid oak drawer boxes, and very well made. The original finish was chipping, the top was stained, and the front had encountered at least a few beverage spills. I seriously wonder what people do with their furniture sometimes!
Here are the products I'd set out to use throughout the process on this Mermaid Blues Makeover
Paint in Palmetto, bunker hill blue and Mermaid Tail
Wax in Brown, Black, and Clear
Applicator Sponge and these Awesome Brushes

No secret, I HATE prep work! I group it together in days where I prep several pieces at one time to get it over with, sort of like Mondays.
I stripped the top on this piece with a harsh chemical stripper along side two other pieces. I applied the stripper, let it sit for @10 mins, then went to work scraping, this old white finish was tough so it took two rounds. Then I went to work with my sander, first with 80 grit, then 120. It was obvious right away the top had some old stains and I'd need to treat with a pre stain conditioner.
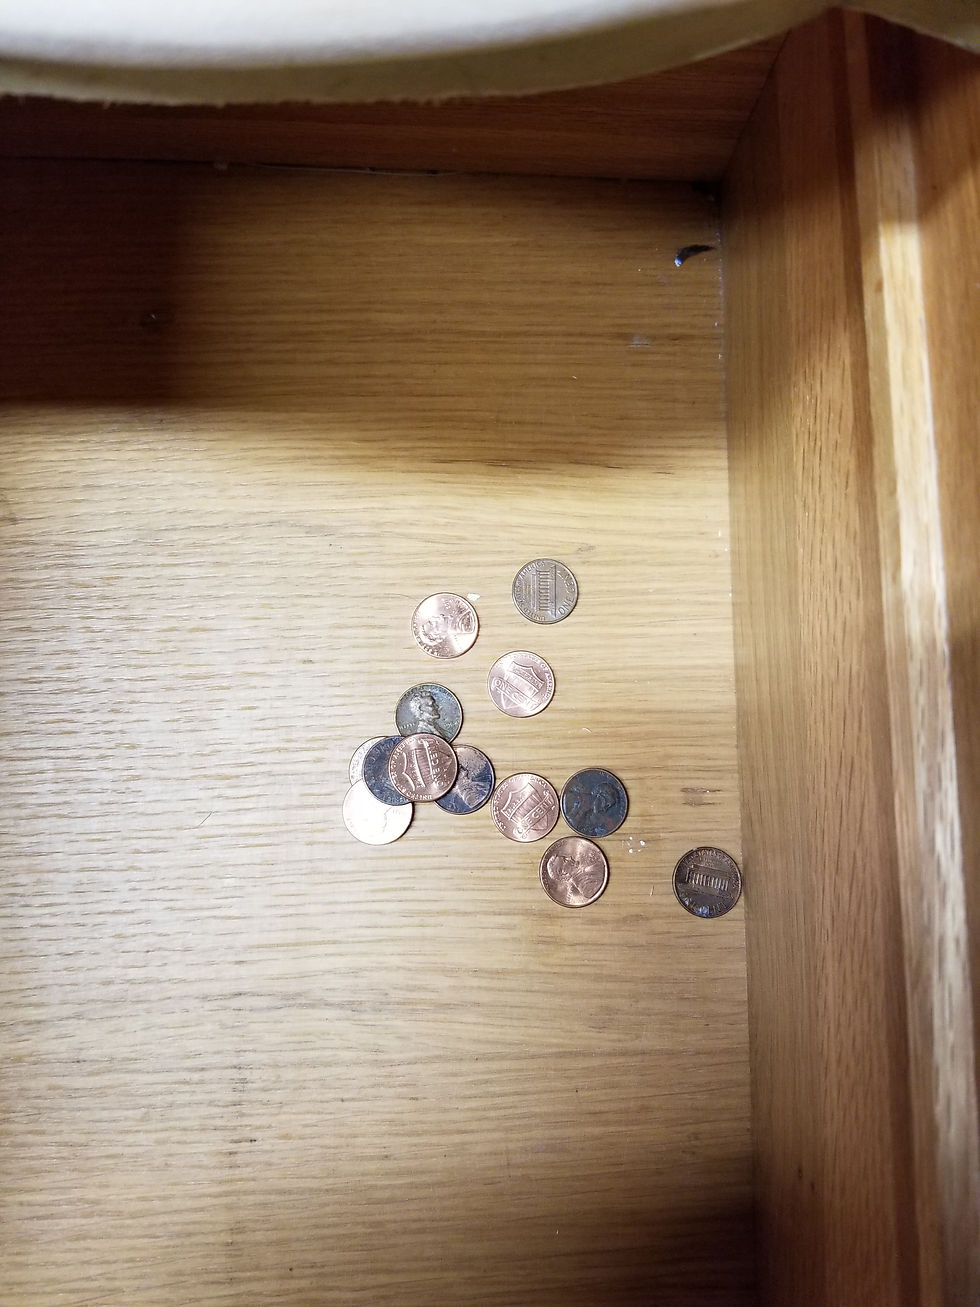
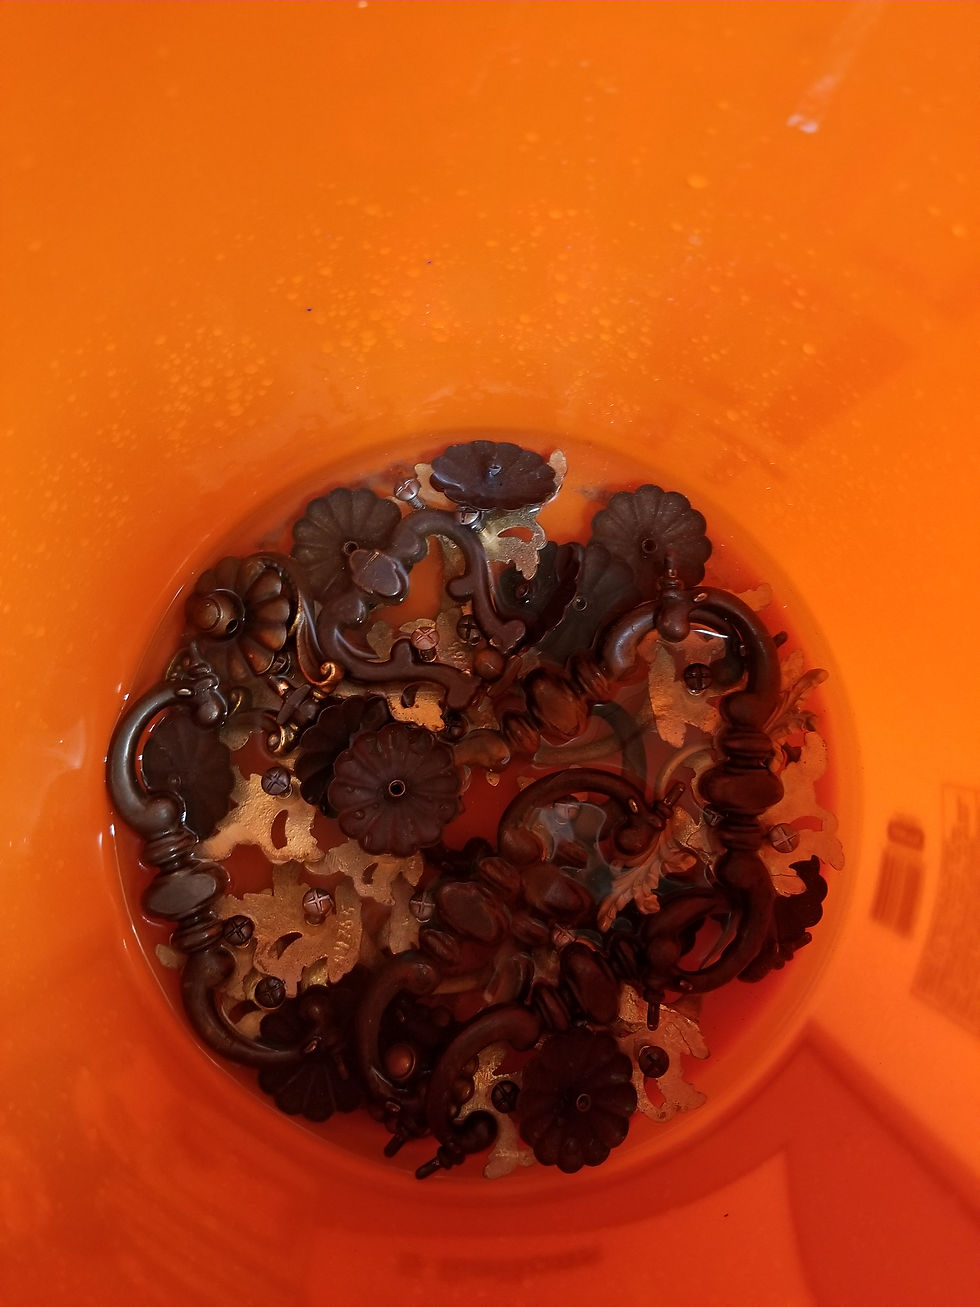
I started by removing all the drawers and numbering them so they went back in correctly, then took off all hardware. I found $.13 in pennies, one of the more normal things I've found in an old dresser! Pure profit baby! A good cleaning is one of the most important steps to make sure your paint adheres properly.

The cleaner is a granulated cleaner formulated with TSP. This was my first time using it and I'm impressed! I dissolved two heaping tablespoons onto a bucket of hot water (yes, one of my kids sand buckets, hey it's what I could find)
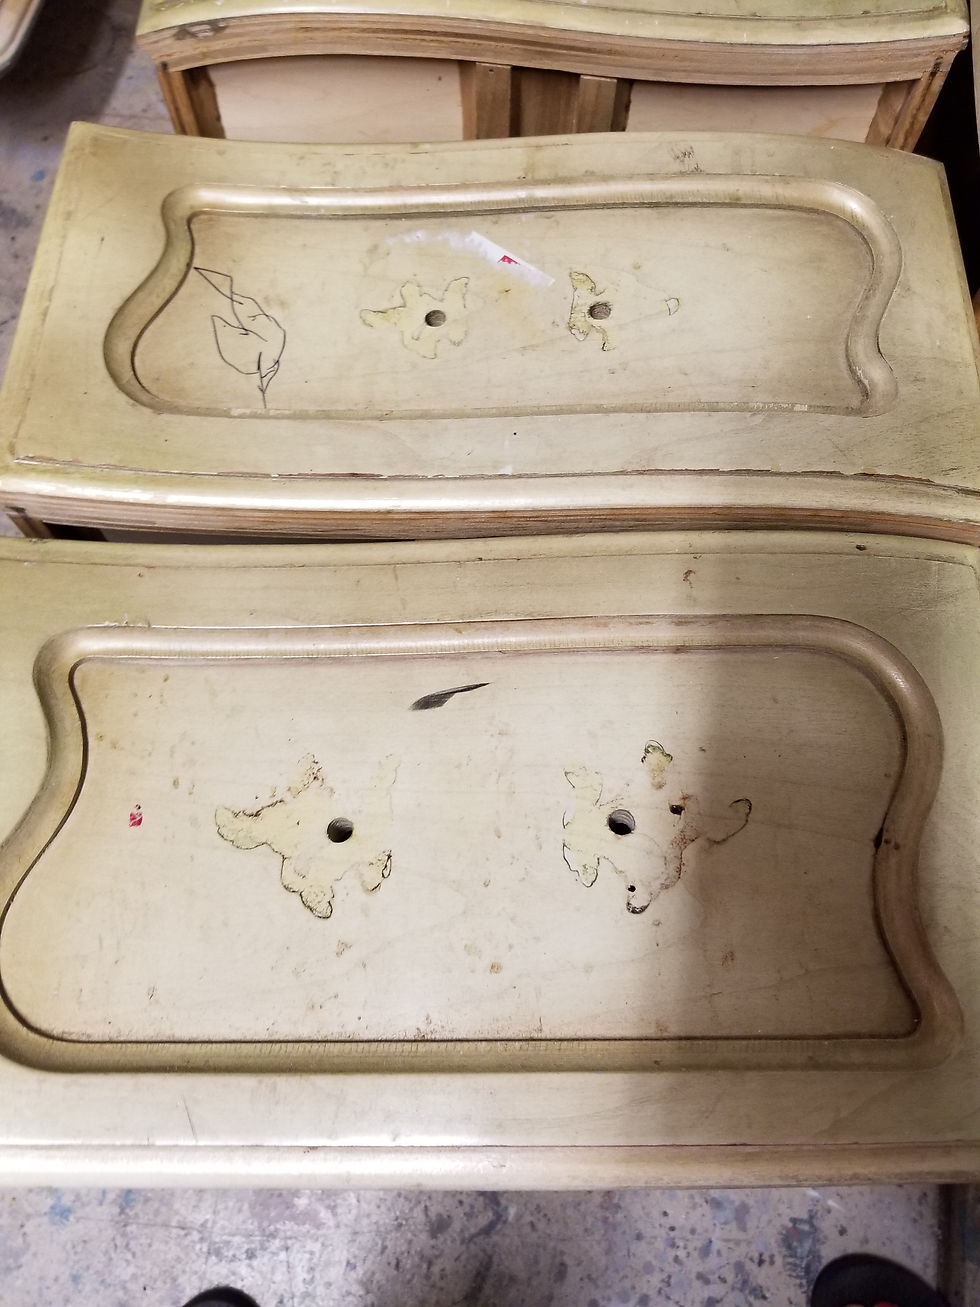
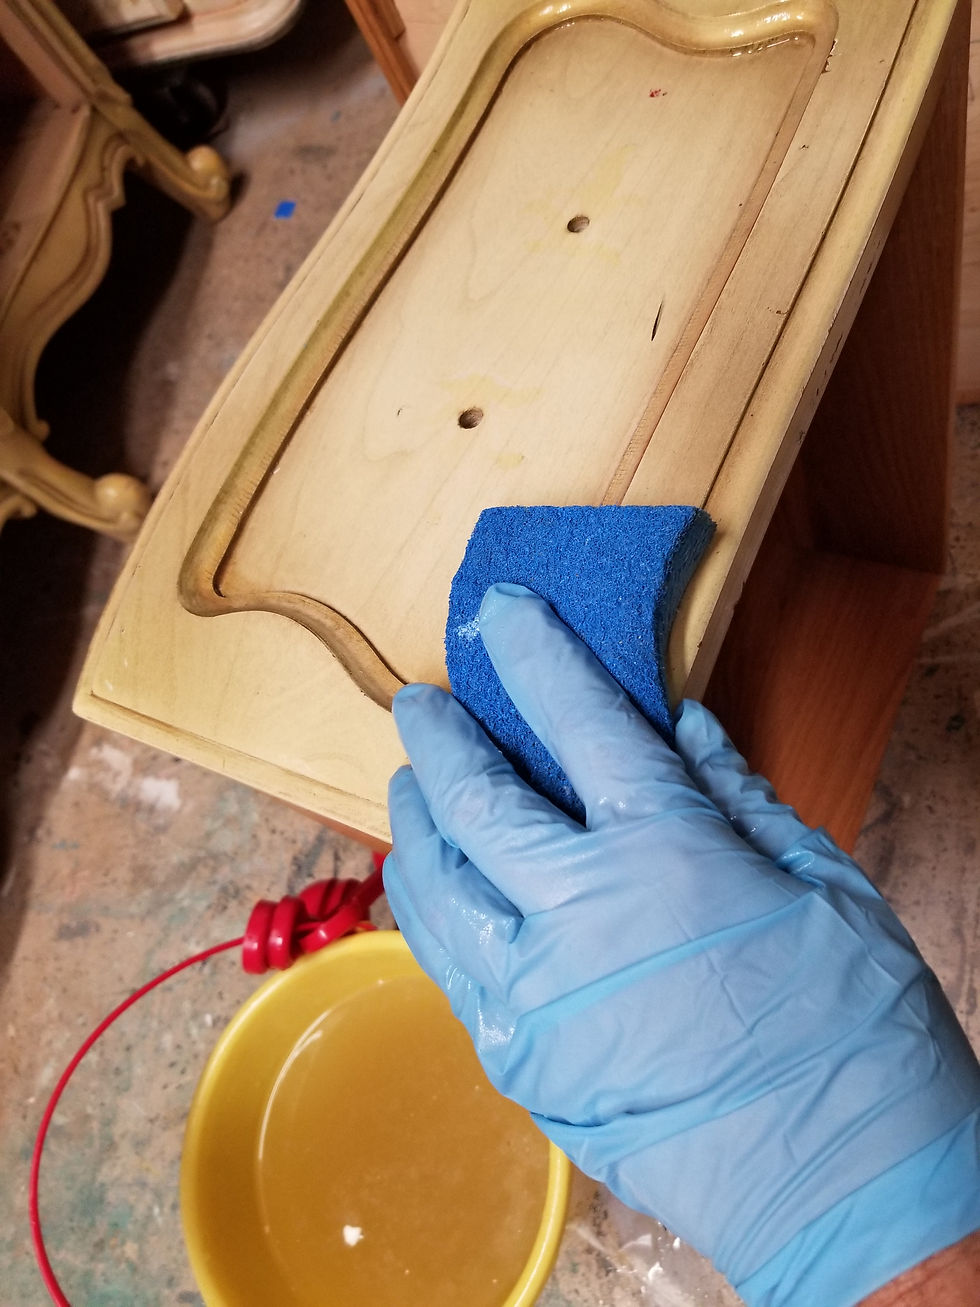

Look at that bucket and tell me cleaning doesn't matter! Under all of that grossness, the piece itself was in great condition, so I did not sand the body.
I sent the hardware for a swim in a bath of white vinegar overnight.
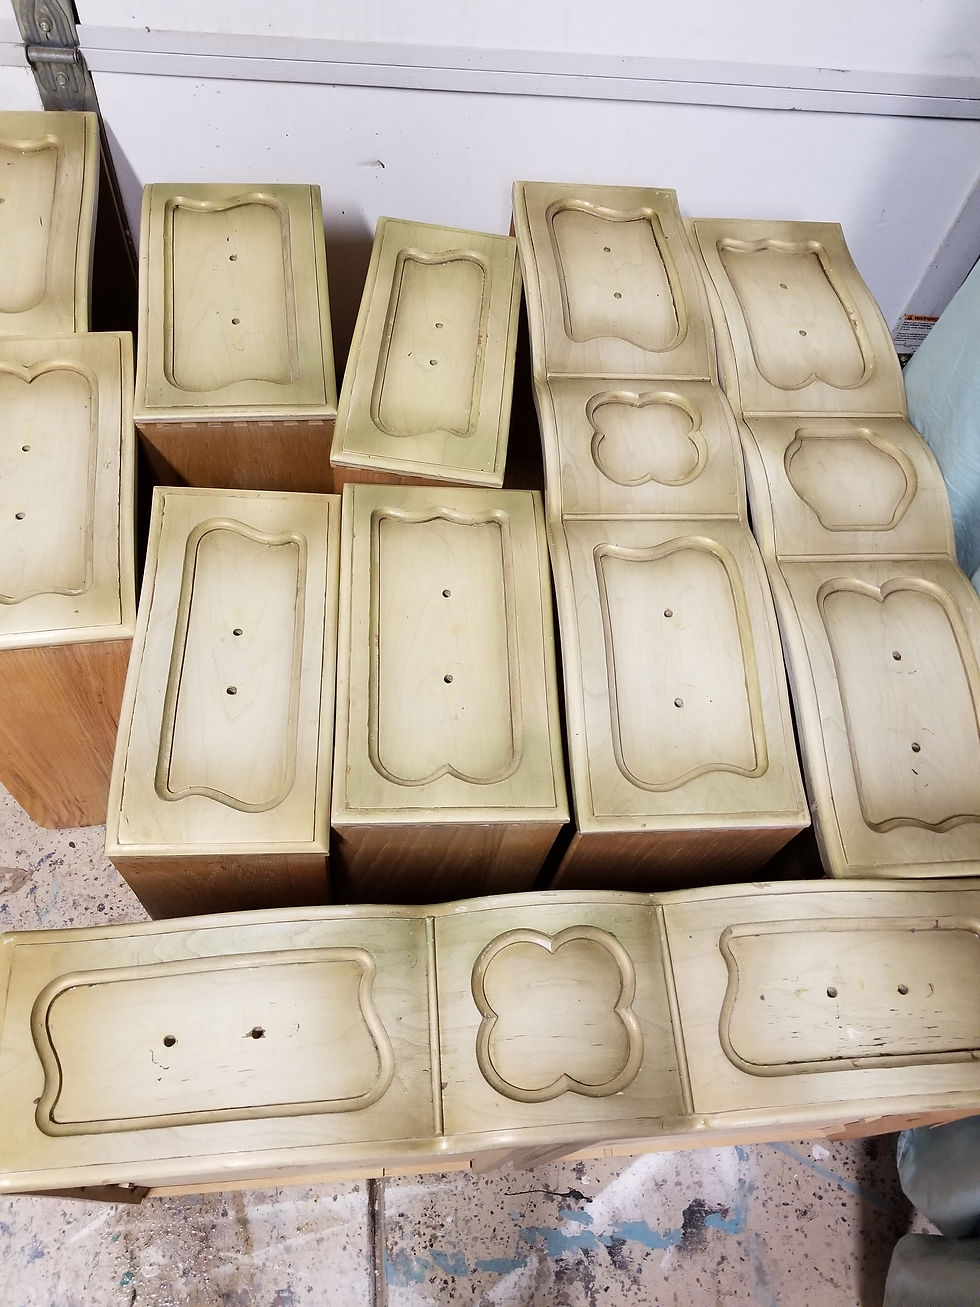
Applying paint is my absolute favorite step. It's the part where the transformation begins to happen and the new piece starts to reveal itself. For this piece, the customer chose a look from my portfolio as inspiration. The colors I used were Palmetto, in the navy, and Mermaid Tail. The blending on this one looks complicated, but is actually surprisingly simple.
I started on the drawers by framing the outside of them in Palmetto, then, with a separate brush, I outlined the insets with the bunker hill Blue, and then filled in with Palmetto. This is just the base coat so perfect blending is not so critical at this point.
I did a drawer on camera to show laying the initial color onto the drawer.
Here are the drawers after our initial coat of paint, not so pretty, but great coverage! The body got the same coat of paint, Palmetto in the majority with bunker hill Blue framing out the trim details. I next added a coat of pre stain condition to the bare wood top to keep the old stains from peeking through the new finish.


I left the drawers to dry overnight and came back to them. The next coat is pretty much the same as the first, only this timed I incorporated the Mermaid Tail just into the centers of the drawer insets by just applying a small line of paint and then blending into the surrounding Palmetto. This serves to add a bit of highlighting to the drawers, the dark blue on the frames and bright turquoise centers really sets them off. I also did a second coat on camera to see the blending. This second coat is where you really want to make sure the colors blend smoothly together.
I did a second coat on the drawers on Facebook Live HERE, if you like the video, like my page for more!
Here is a pic right after that video step:

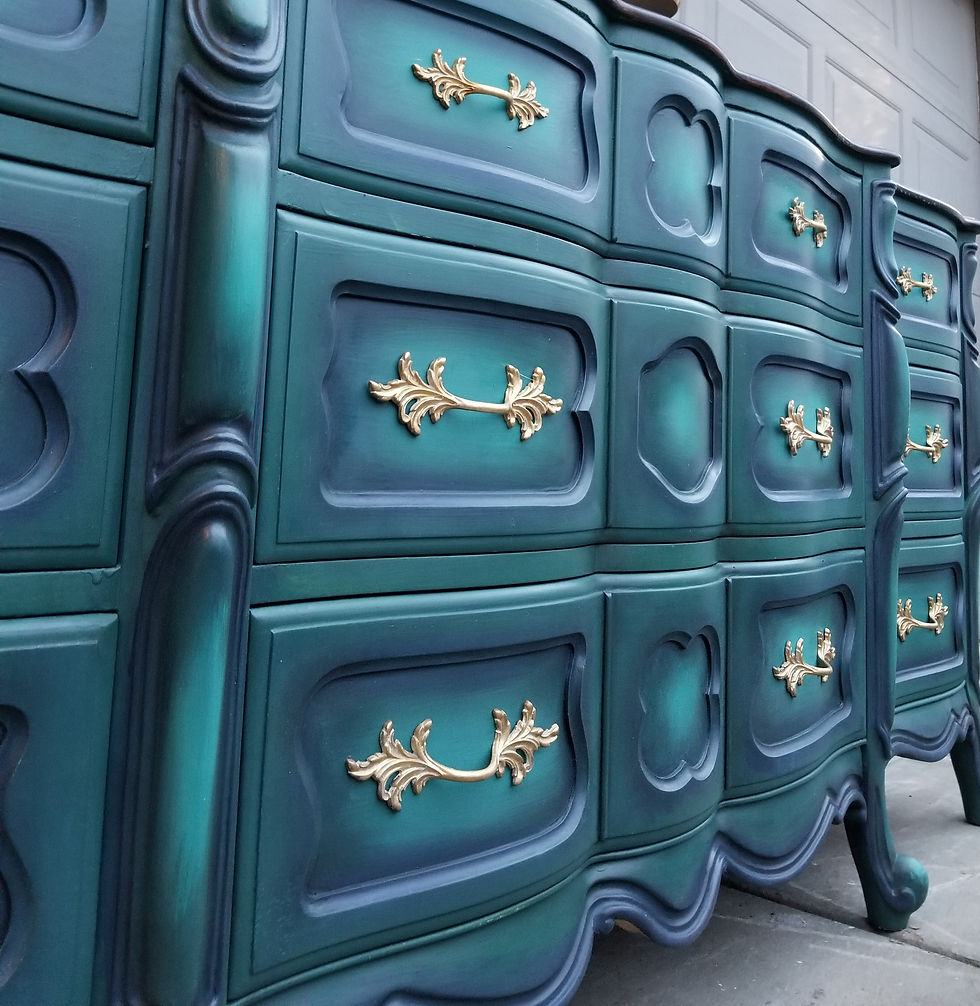
Once our paint was on came time for wax. I used Wax in Clear to protect this beauty. From there I used the Brown and Black waxes to add depth. I applied a thin line of black wax just along the recessed details, then used a small wax brush to blend it. The results are subtle but add to the dimension of the colors.
Here is a video adding the dark waxes
https://www.youtube.com/watch?v=Op29B5bBoW8

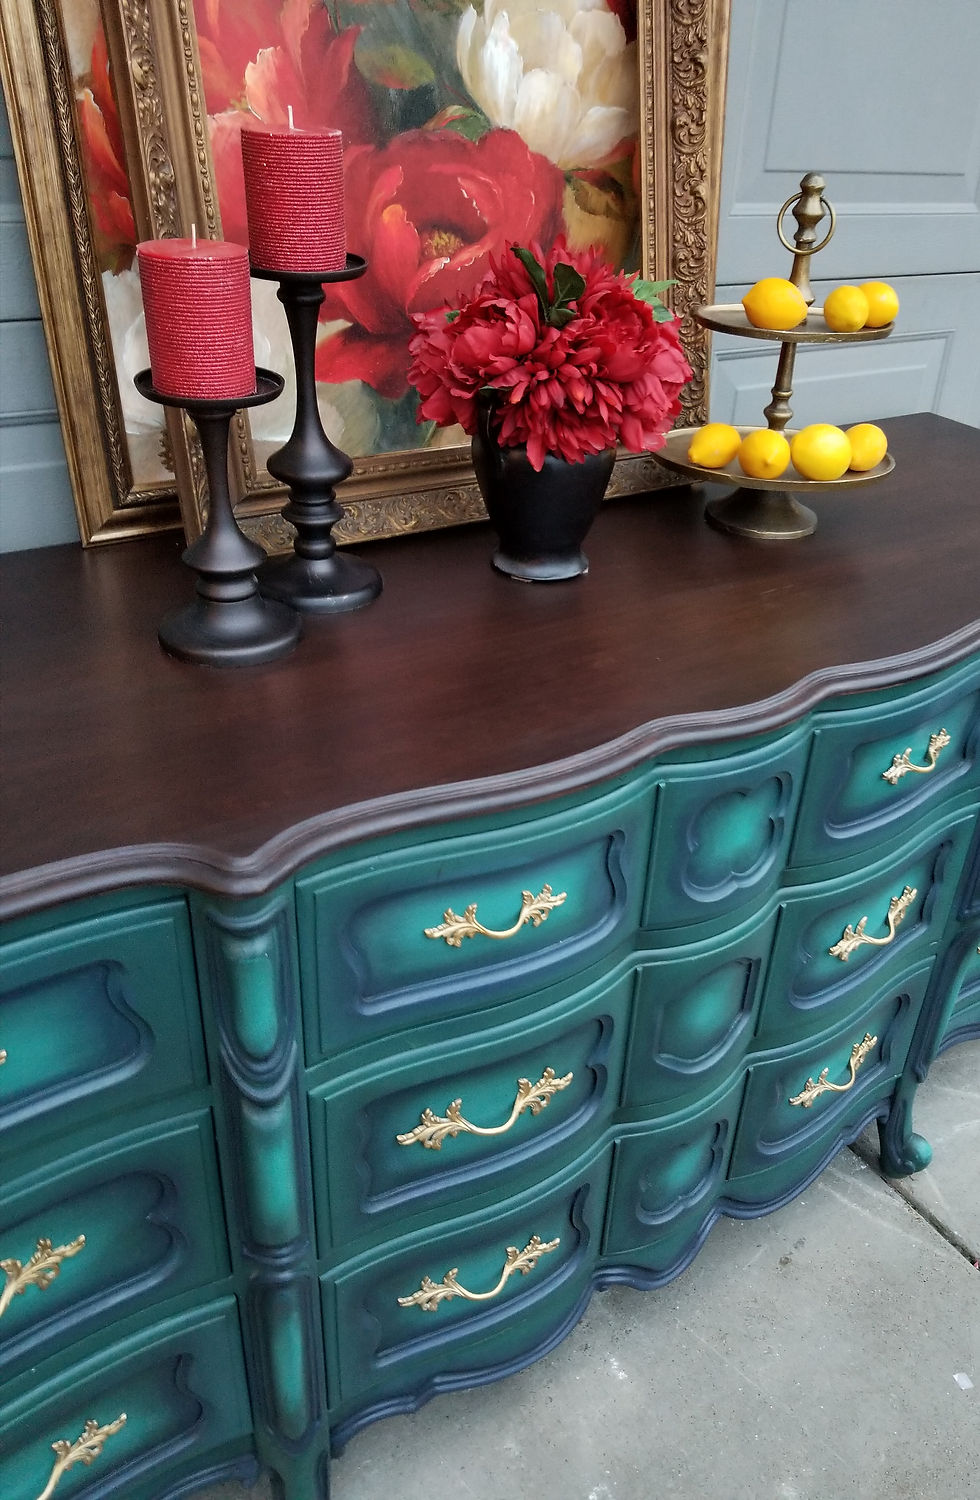
Once the body was complete and protected I turned to the top. I added two coats of a dark gel stain. The gel has a bit more thickness which helped camouflage the existing discoloration in the top. The top was a veneer so I didn't want to try to sand it out.
With nice coverage from the gel stain, I used the an Applicator Sponge to apply 6 thin coats of satinclearcoat. I dipped the sponge right into the container and wiped it on, careful not to go back over areas that had already been applied. The sponges apply super smooth coats, free of brush marks.

The final results are stunning, a scroll stopper for sure. My customer has been remodeling a home and is using this as a jumping off point to design their living room around. I believe painted furniture should evoke emotion, start conversations, and this Mermaid Inspired Dresser Makeover is just that!


Comments